No items found in your cart!
No items found in your cart!
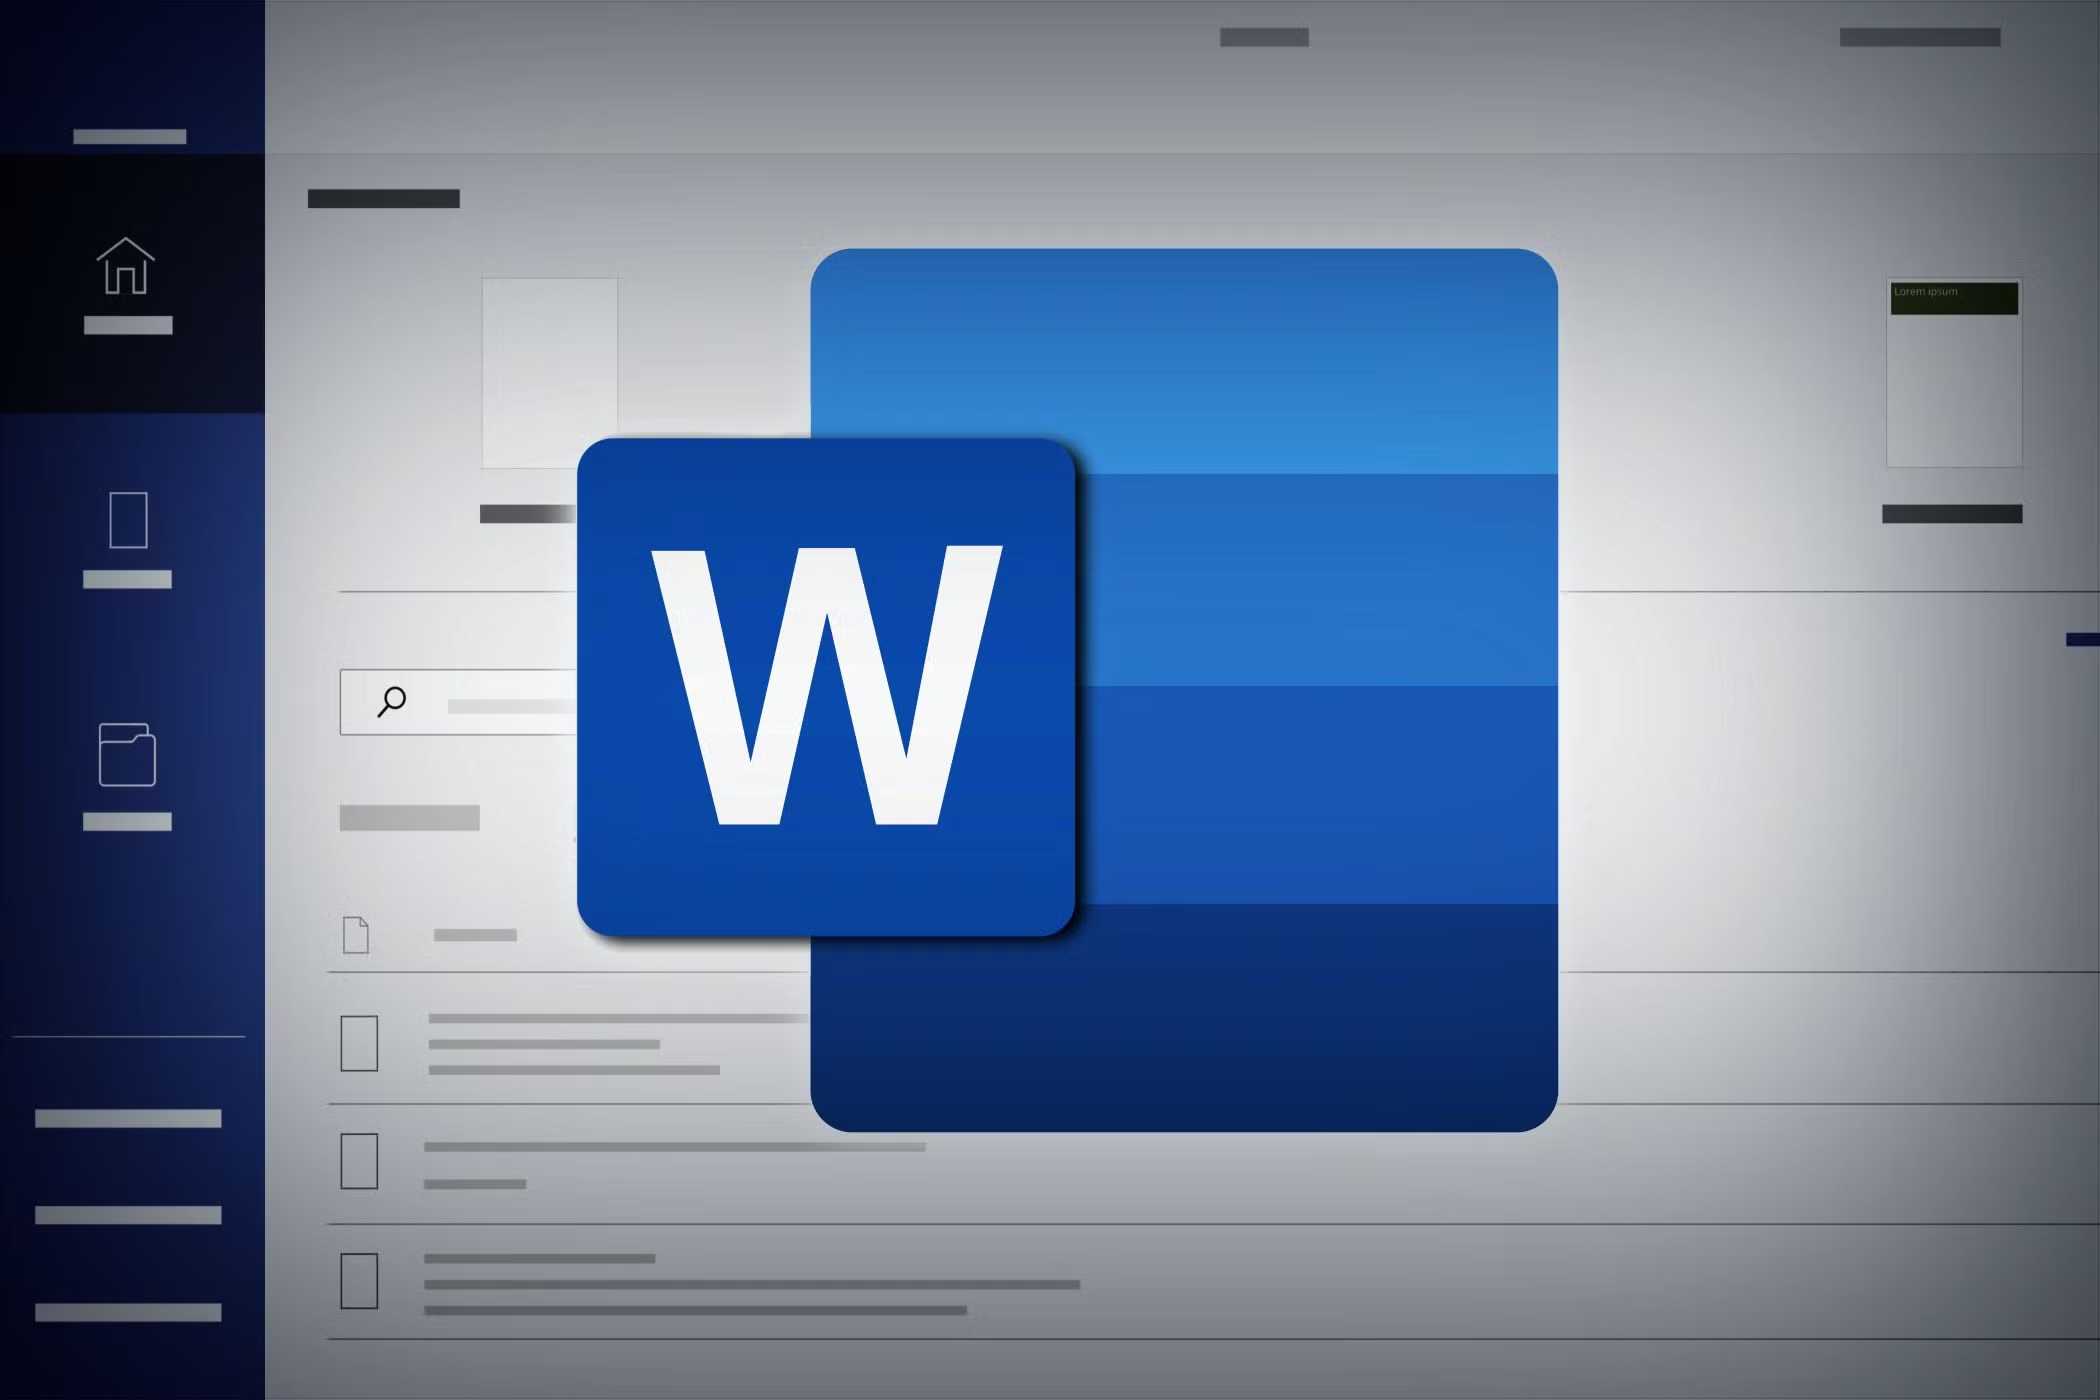
 you definitely can not afford to miss this. READ HERE https://www.hub.goglowonline.com/view-post.php?post_id=58, Thanks for always taking out time to read through our blog posts @ Goglow Hub! We are Happy that you enjoy it!&image=<img src='https://www.hub.goglowonline.com/upload/1753521457goglow-microsoft-word.avif'/>) |
|
|
|
|
|
|
|
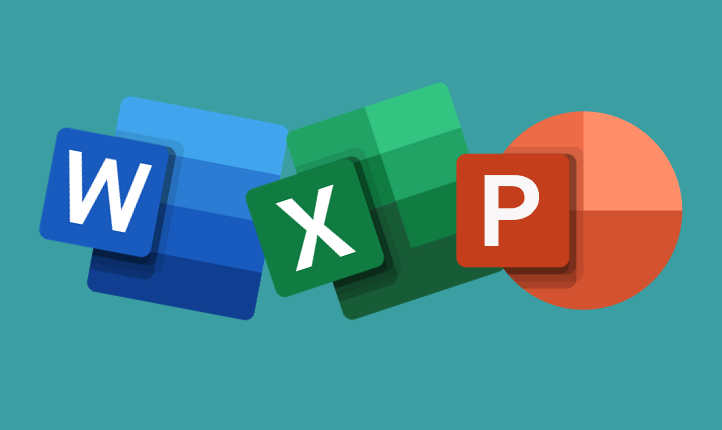
A detailed explanation of advanced Microsoft Word skills, along with how to implement them step-by-step.
These skills are essential for creating professional documents, automating repetitive tasks, and collaborating effectively.
Apply a Style:
Modify or Create a Style:
Apply a Theme:
Bookmarks:
Cross-reference:
| Skill | Purpose | How to Access |
|---|---|---|
| Styles & Themes | Formatting consistency | Home → Styles / Design → Themes |
| Section Breaks | Different headers, layout per section | Layout → Breaks → Section Break |
| Table of Contents | Auto list of headings | References → Table of Contents |
| Mail Merge | Personalized bulk letters/emails | Mailings tab |
| Macros | Automate repetitive actions | View → Macros |
| Charts/SmartArt | Visual data and diagrams | Insert → Chart or SmartArt |
| References & Citations | Academic referencing | References → Insert Citation |
| Bookmarks & Cross-Refs | Easy navigation | Insert → Bookmark / References tab |
| Protect Document | Restrict editing | Review → Restrict Editing |
| Templates | Reusable document design | Save As → Word Template (.dotx) |
| Fillable Forms | Interactive documents | Developer tab |
| Track Changes | Collaborate with feedback | Review → Track Changes |

.jpeg)

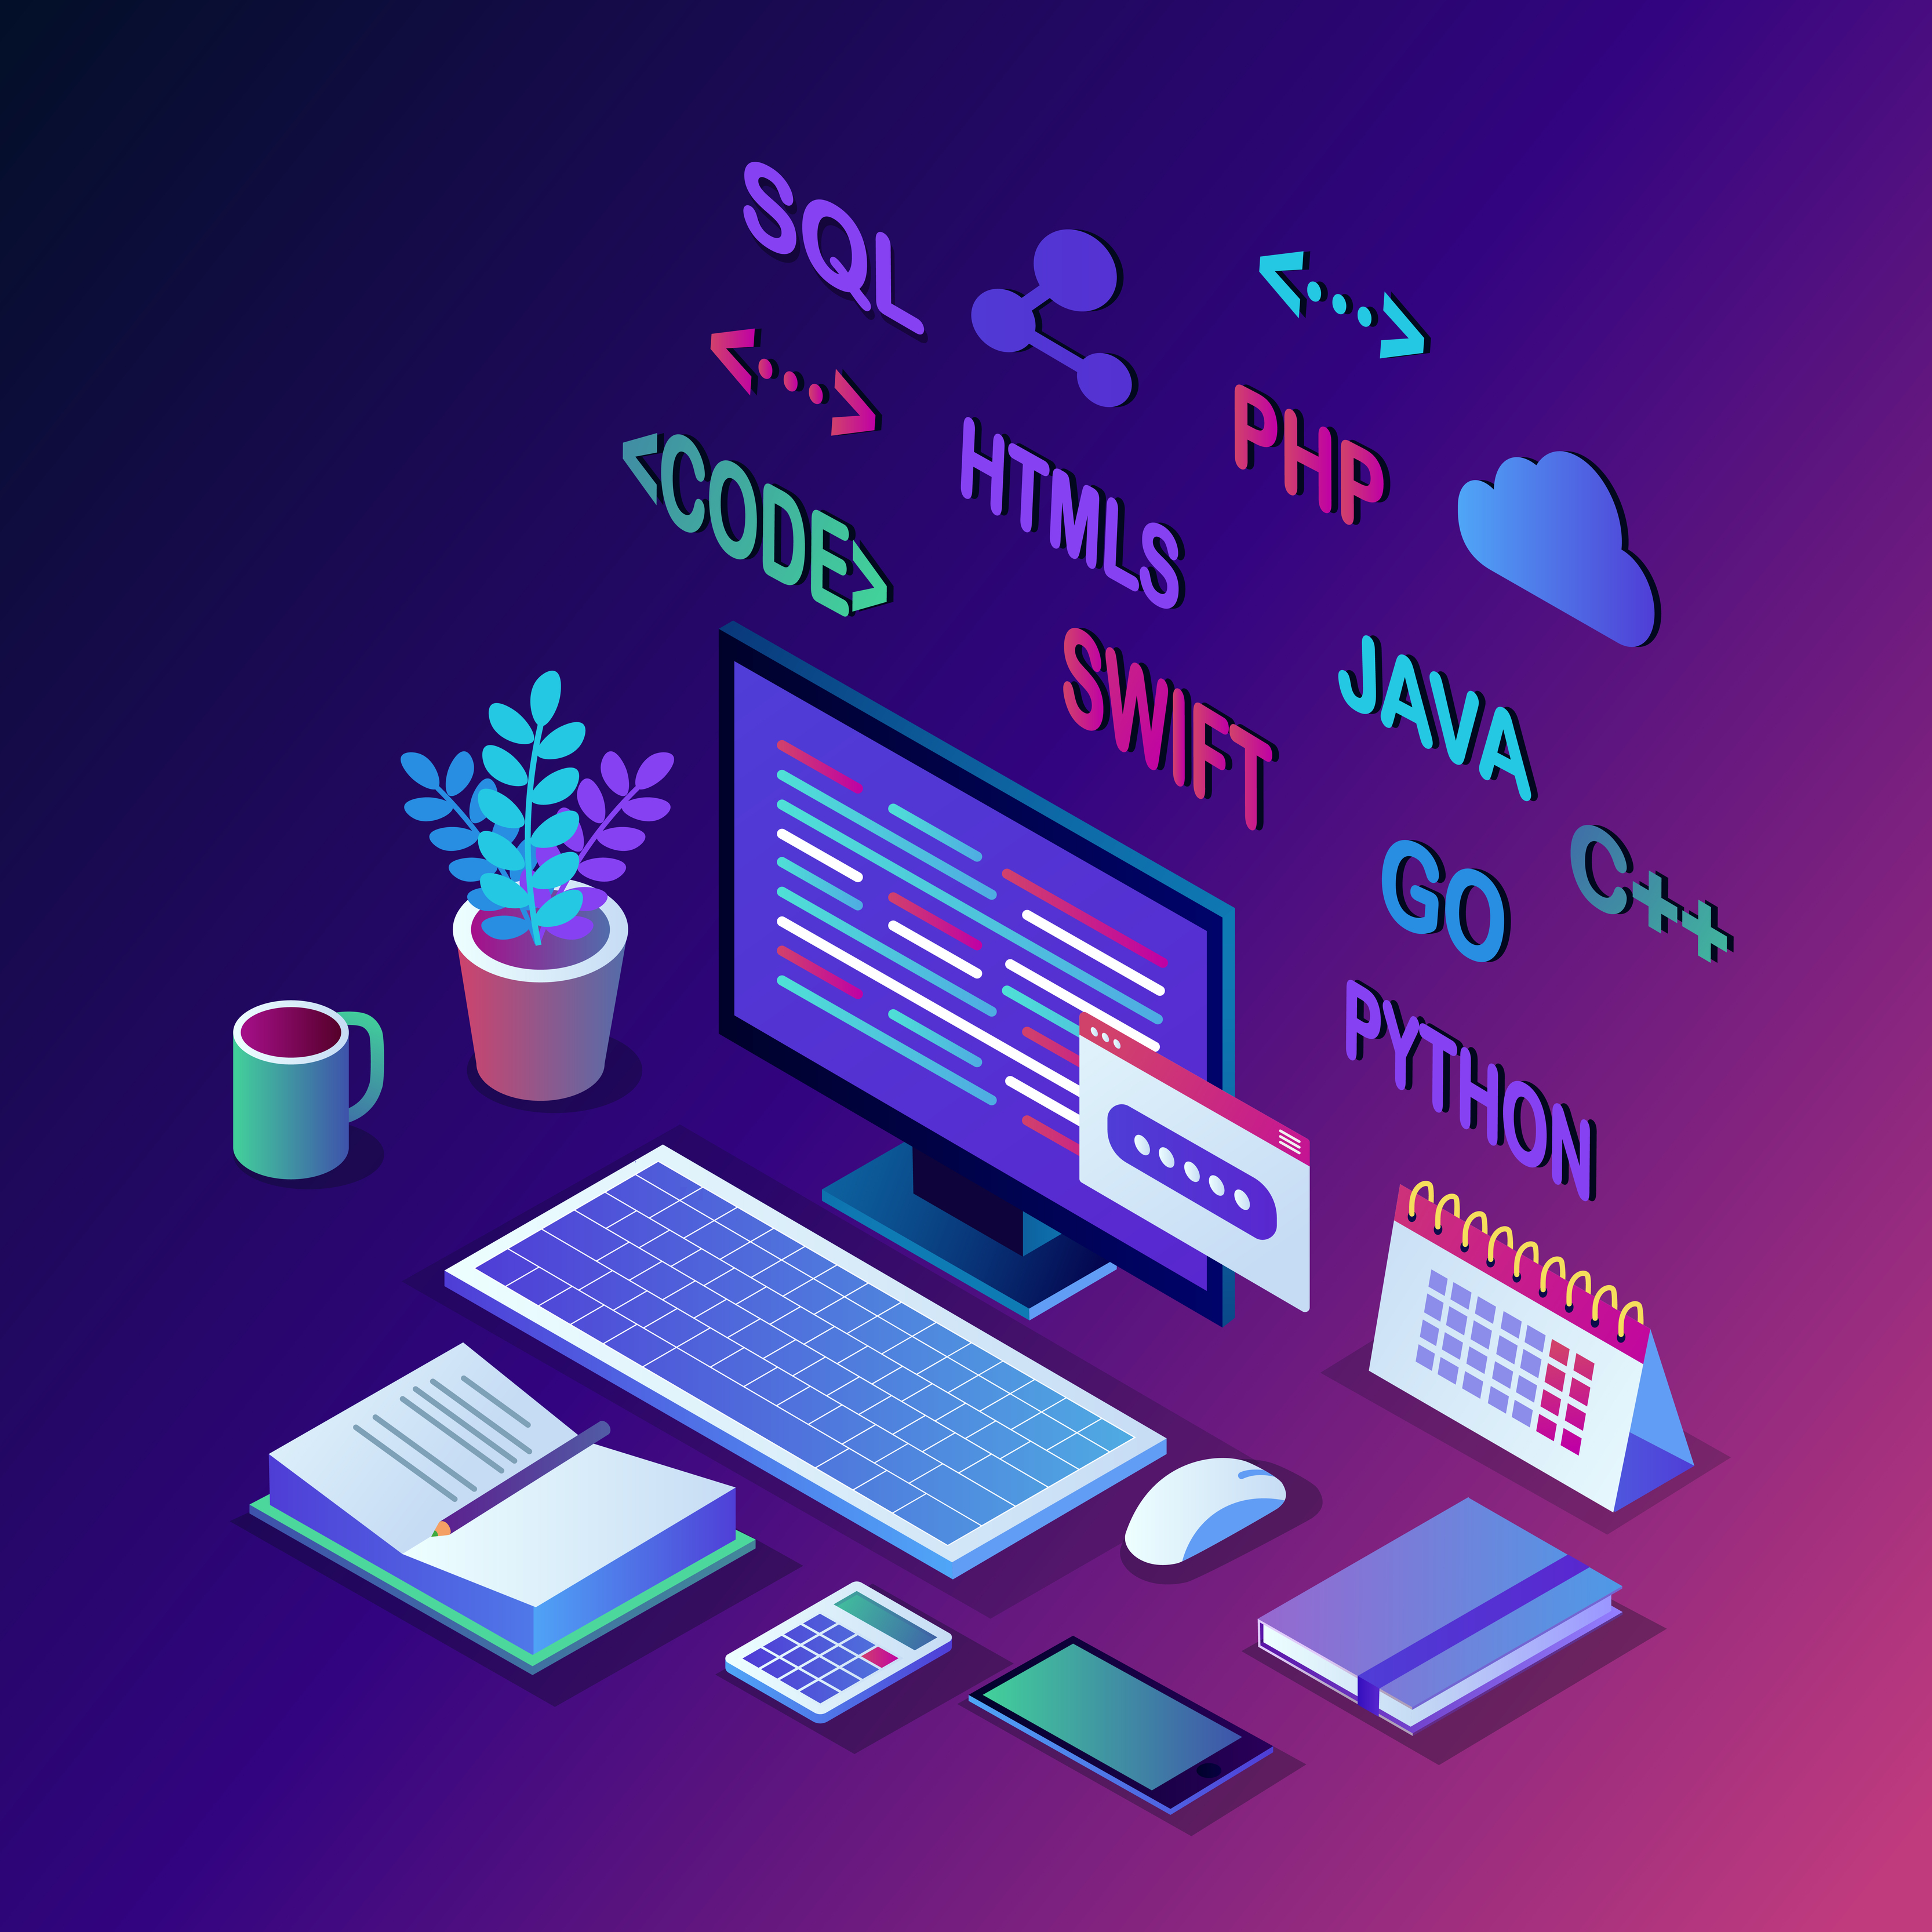
![]() Courses
Courses
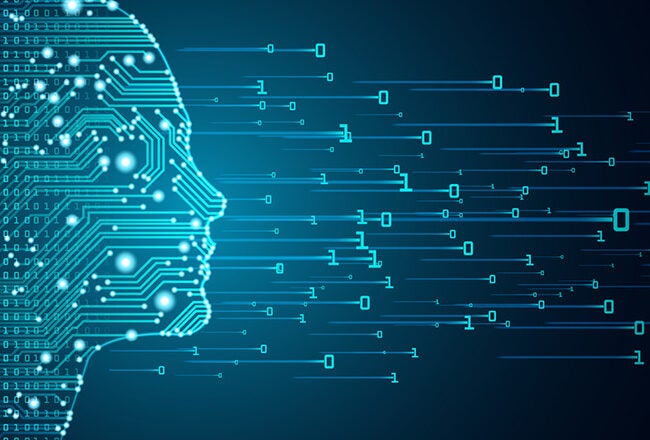
 Graphics Design
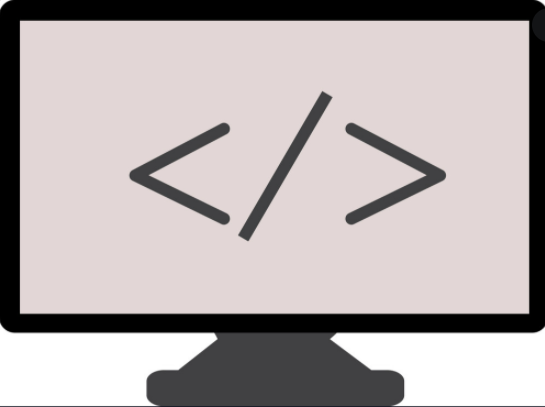
 Web Development
 Mobile App Development
 System Application Development
 Computer Appreciation
 Architectural Design
 UI/UX Design
 Programming
 Software Development
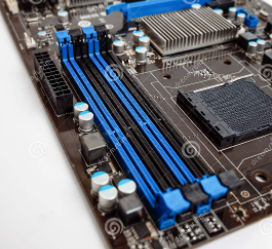 Computer Repairs
 Solar Panel Installation
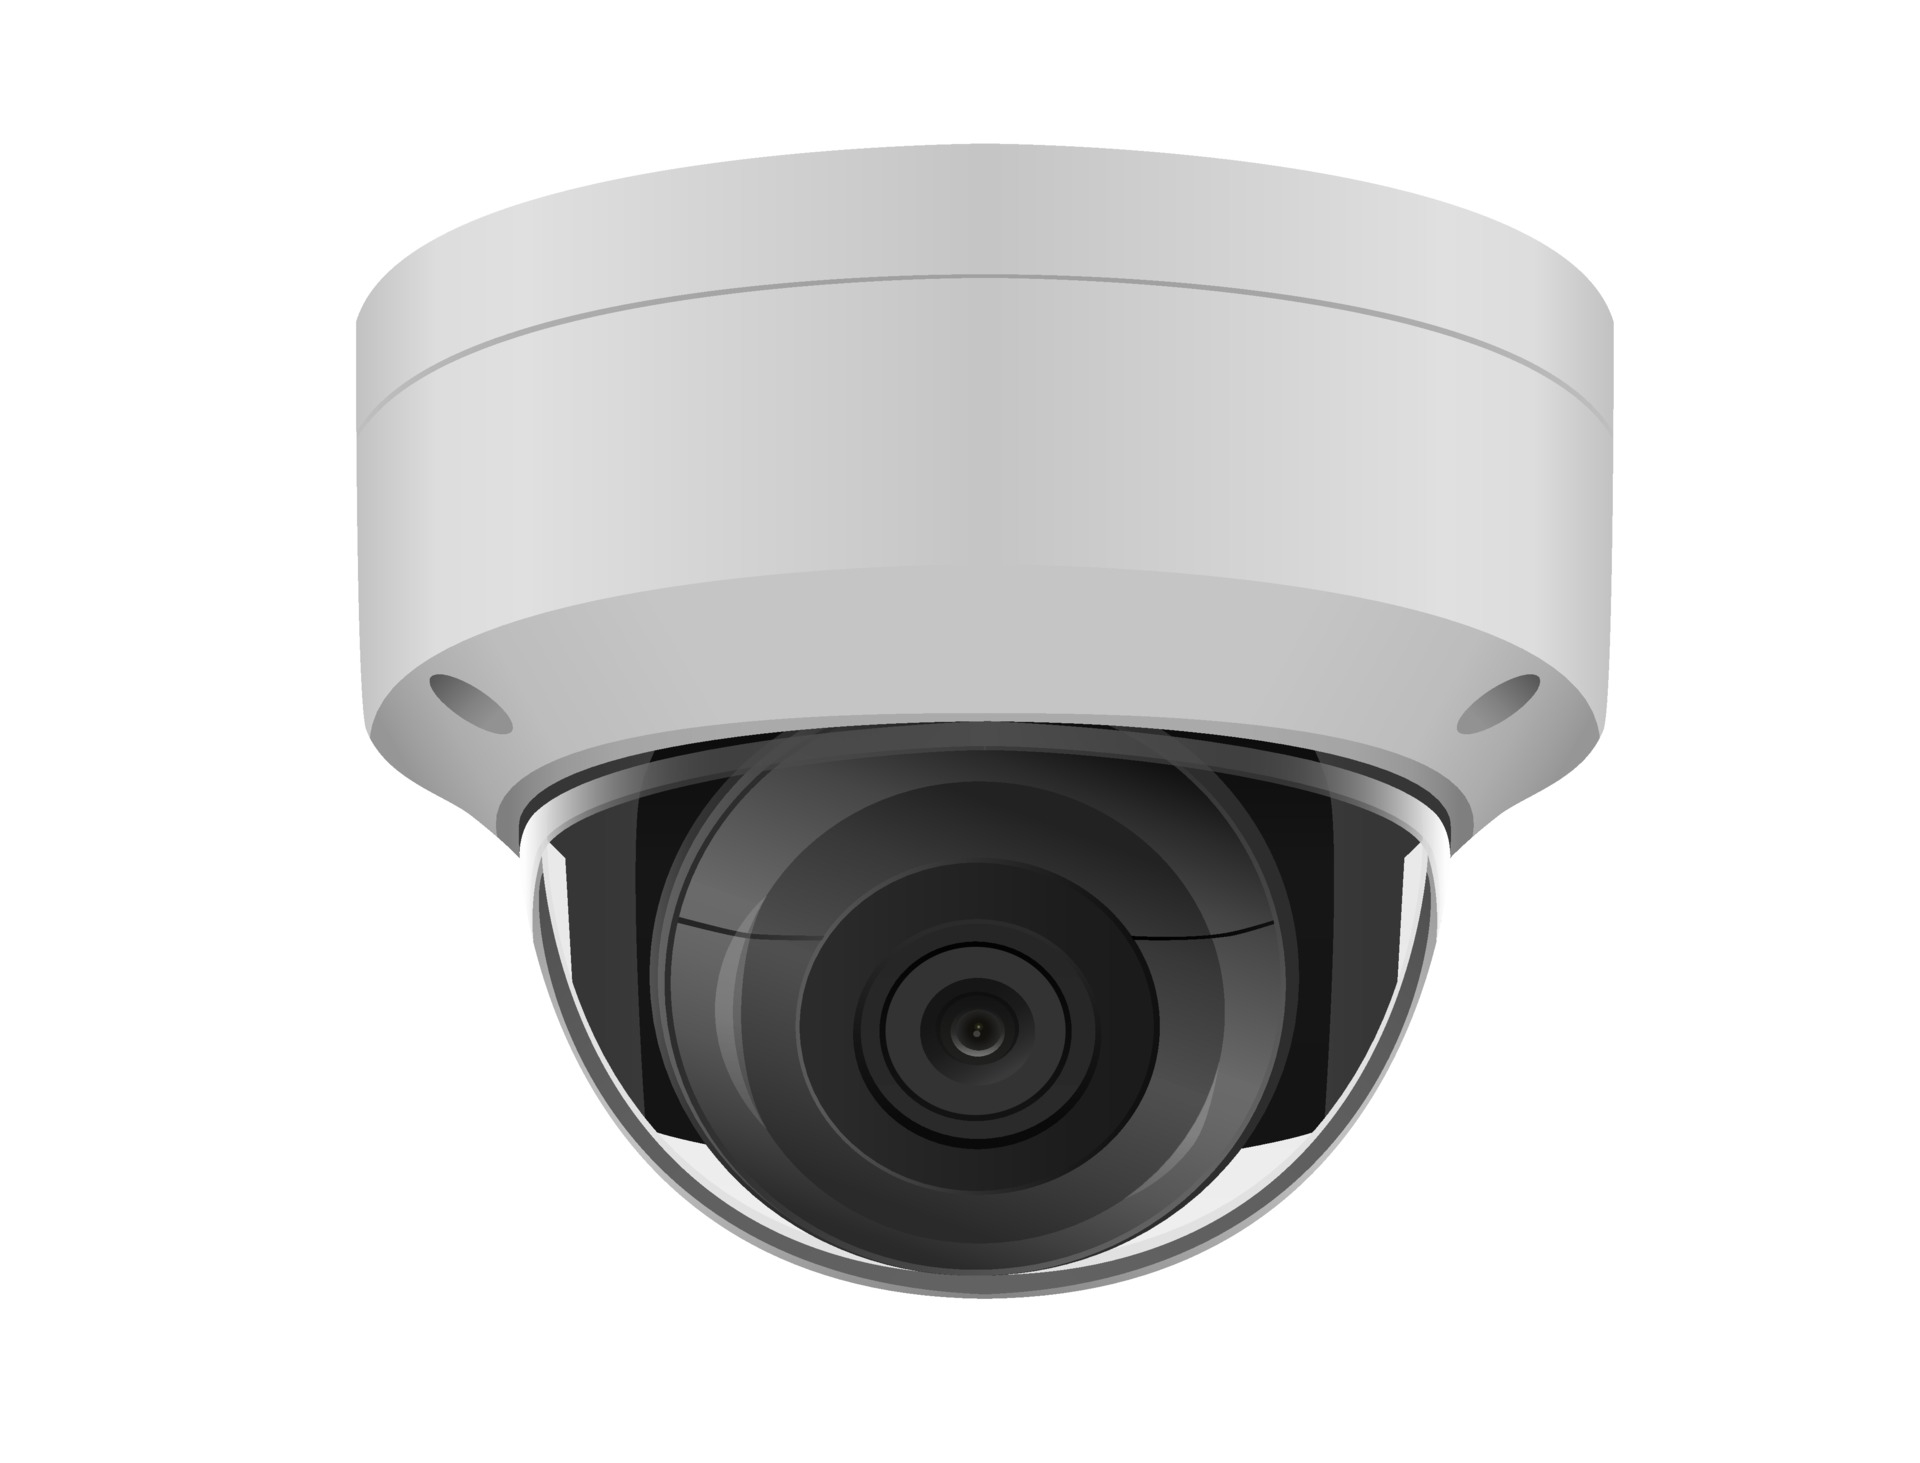 CCTV Installation
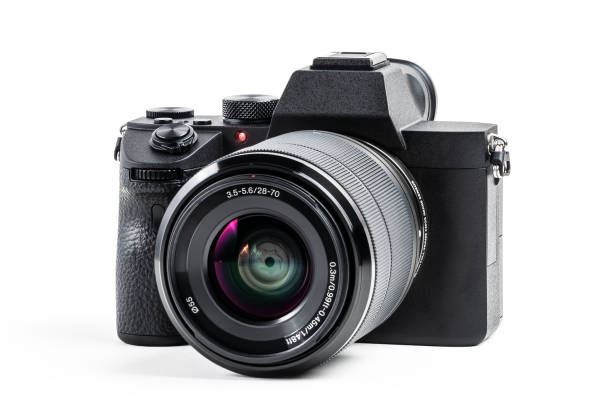 Digital Photograpghy
 Digital Marketing
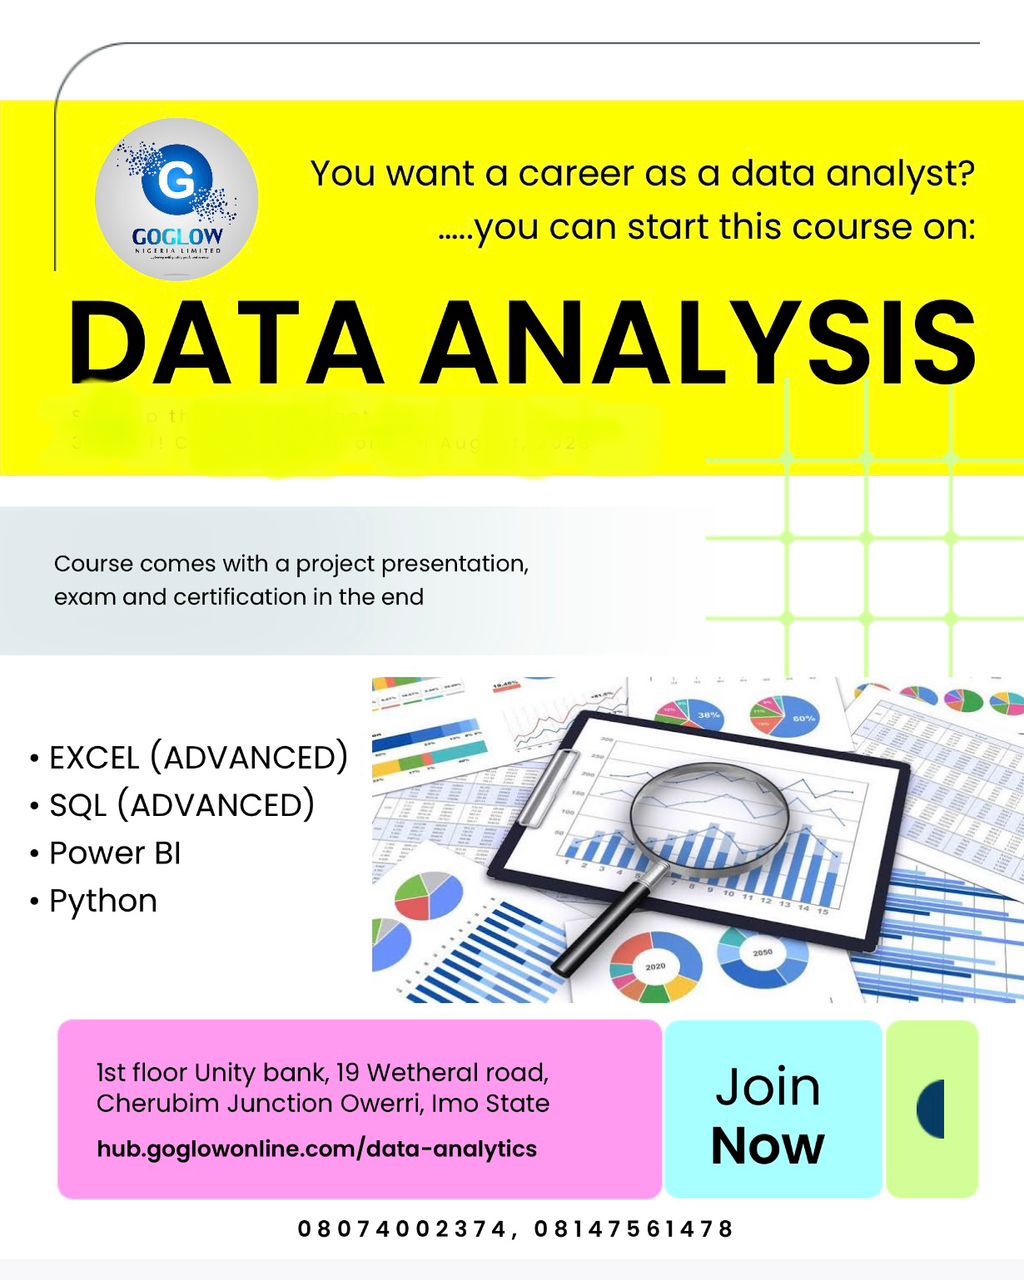
 Data Analytics
 Database Management
 Ethical Hacking
 Blockchain Development
 Jamb CBT Practice
 TOEFL Training
 IELTS Training